

Want a model railroad layout inside your house that takes up almost no space and is barely visible? Got a rectangular room with picture rail (aka moulding) around the perimeter? You’re in luck… read on.
Most home model train layouts don’t last long. They’re relegated to garages or basements – eventually disappearing from there too – because they take up too much space. Often built on large plywood boards (e.g. four by eight), they render the space unusable for any other purpose.
I built my first picture rail railway in 1997 because I had a small apartment and wanted a challenge. It took a whole weekend to figure out, but yielded years of amusement for kids, dogs, and in fact most adults. Best of all, people wouldn’t even notice it until I pointed it out.
After moving to a bigger place this year, I built another one. It took only six hours this time, with help from my extremely smart and helpful (not to mention excited) nine-year-old nephew. We were more efficient and confident this time, and also used better materials. And it was a ton of fun!
If you’re ready to try this yourself, here’s what to do:
Choose a room shape that will work. Choose a room thats an uninterrupted rectangle (or square), and has picture rail all the way around. If the picture rail is interrupted by the top of a window or doorway, that can still work, but you’ll have to bridge the track around that obstacle, so make sure that’s possible and won’t ruin your project visually. The bigger the room the better the layout will be.
Verify suitability of the picture rail and electrical. Make sure your picture rail is wide enough on top to support a one inch wide layer of balsa wood on top. This will be the roadbed you mount your track on. Also make sure you’ll have a visually acceptable way of getting the DC power wire up to the molding height to power the track. You’ll run this from the DC transformer thats plugged into a wall outlet and controls the the train.

Buy and color-match your balsa wood railbed. After measuring how much you’ll need, find a store that sells balsa wood and buy enough 3/8″ deep by 1″ wide pieces to cover all your picture rail. These sticks are generally about a yard long, and cost a couple bucks each. Depending how fancy you want to get visually, you can stain this balsa to match the picture rail (or some other color) before you install it. Note that I didn’t actually use balsa, but used hardwood pieces the same dimension (Ace Hardware was out of the balsa).
Buy your N-scale track. There are many model railroad gauges (scales), with HO the most common, but for this, you must use N scale… its the perfect size. In 1997 I used standard Atlas-type track with the old fashioned connectors that hurt your fingers and come apart easily. But its hard to do track maintenance eight feet off the ground, and any derailment can be catastrophic. So I highly recommend using Kato Unitrack instead. It’ll cost a few bucks more but save you hours in building and keeping your track viable.

For each corner, you’ll want to buy three 30 degree sections, not two 45 degree sections, which are too tight for many trains to navigate.
Design and cut your bridge struts. The trickiest part of this project is getting your train safely around the sharp 90 degree turns (corners). So before you install the rest of the roadbed, you want to design, cut and install the balsa bridges – basically short straight pieces installed kitty-corner to the walls to support the cornering track.
First, get up on your ladder with the curved track (three 30 degree pieces put together) and figure out where the bridges need to go to support the curved section at its center. Then cut the bridges to this length, also cutting diagonals on each end so the ends will be flush to the wall when installed.

Install the bridge struts and balsa straightaway roadbed. Now install the bridge struts you’ve measured for the corners, one at a time, verifying that they’ll support the track correctly. Then fill out the straightaways with the straight balsa pieces. Don’t worry if there are small gaps of a few inches in the roadbed between pieces… the track does not need 100% underlying support.
The key is to install the roadbed as flat as possible. You’ll use small nails to secure the balsa, but since there’s often a gap between the lip of the picture rail moulding and the wall, you’ll need to carefully install each piece so its flat and secure. You don’t want an uneven, tippy roadbed at that height.

Install the track and hook up the transformer. This is easy if you have Kato Unitrack, but requires more time and planning with Atlas-type track. First install the curves, then use as many long track sections as possible to make up most of the straightaway distance. The trick is the non-standard length connections between the two (also don’t forget you need one piece of track connected to the power wires). With Unitrack, you can buy a few pieces of telescoping ‘expansion track’ to custom-fit the gaps. With Atlas, you may have to cut some track (dicey).
Make sure the track is placed on the roadbed such that the rolling stock won’t scrape against the wall. Once it’s in place, you may want to use small nails to attach it to the roadbed. I say ‘may’ because you may not need to… this time around, I’m (at least temporarily) trying tape instead of nails.

Procure your engines and rolling stock and test, test, test. If you already have some N scale equipment, great. Or maybe you can borrow some for testing. Start with something old you can live without if it falls and smashes into a million pieces, until you know the layout’s safe.
You needn’t use Kato engines or cars just because you’ve got the Kato Unitrack… anything N scale will work. However the precision of the Kato engines and cars makes it a lot easier to test/run them very slowly, so I highly recommend them if you can swing it. For the record, the one time I had a locomotive derailment where the (Kato) loco fell to the ground (hardwood floor not carpet), it did smash violently into several pieces, but I was able to reassemble it and it still worked!

Avoid these temptations. Its tempting to try to build a siding with switches so you can run two trains and have them pass each other. Having tried it successfully, I can tell you don’t bother – it ruins the visual simplicity, adds lots of wiring and you’ll hardly ever use it. I also advise sticking to standard analog controls rather than digital (DCC). Lets face it, this train is just running around in a big fat (albeit cool) circle. DCC doesn’t help!
Finally, avoid the temptation to start up your train at top speed if you haven’t run it in a while. The track may have shifted, so doing a test lap each time will help avoid an unpleasant surprise.
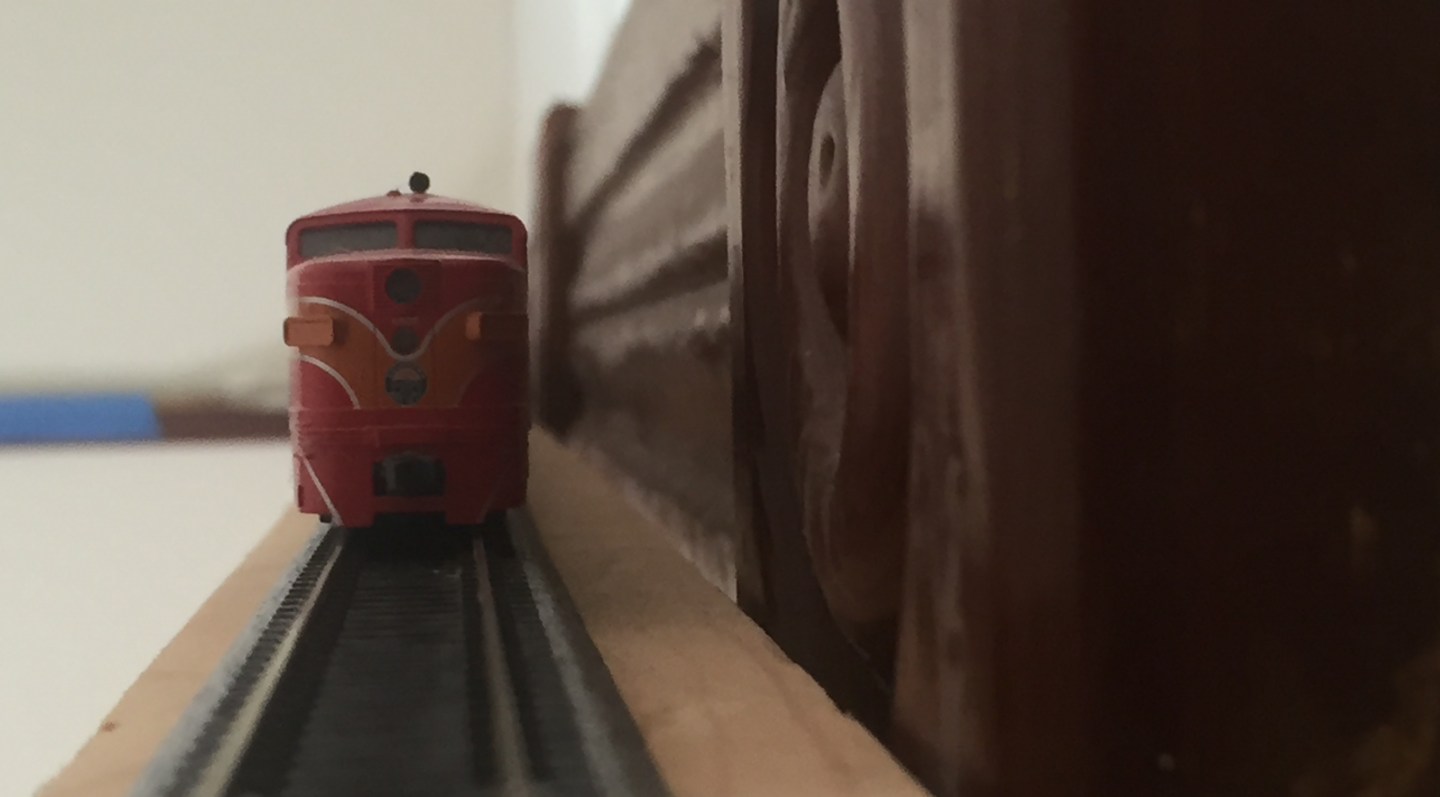
Have fun with it, and run it a lot! You’ve invested the time, so make sure to enjoy it. Get a great train to run up there… something visible from the ground, with personality (I went for a classic Kato SP Daylight red and orange set). Make sure the engine has a headlight so you can run it in the dark! And definitely give your railroad a name. Run your train a few laps at least every couple of weeks, so dirt doesn’t accumulate on the tracks, which can weaken the electrical connection (cleaning the tracks with denatured alcohol is a pain at that height).

Really cool, Dave! Love it! Thanks for sharing…